Slab To Hall Table Project Part 2
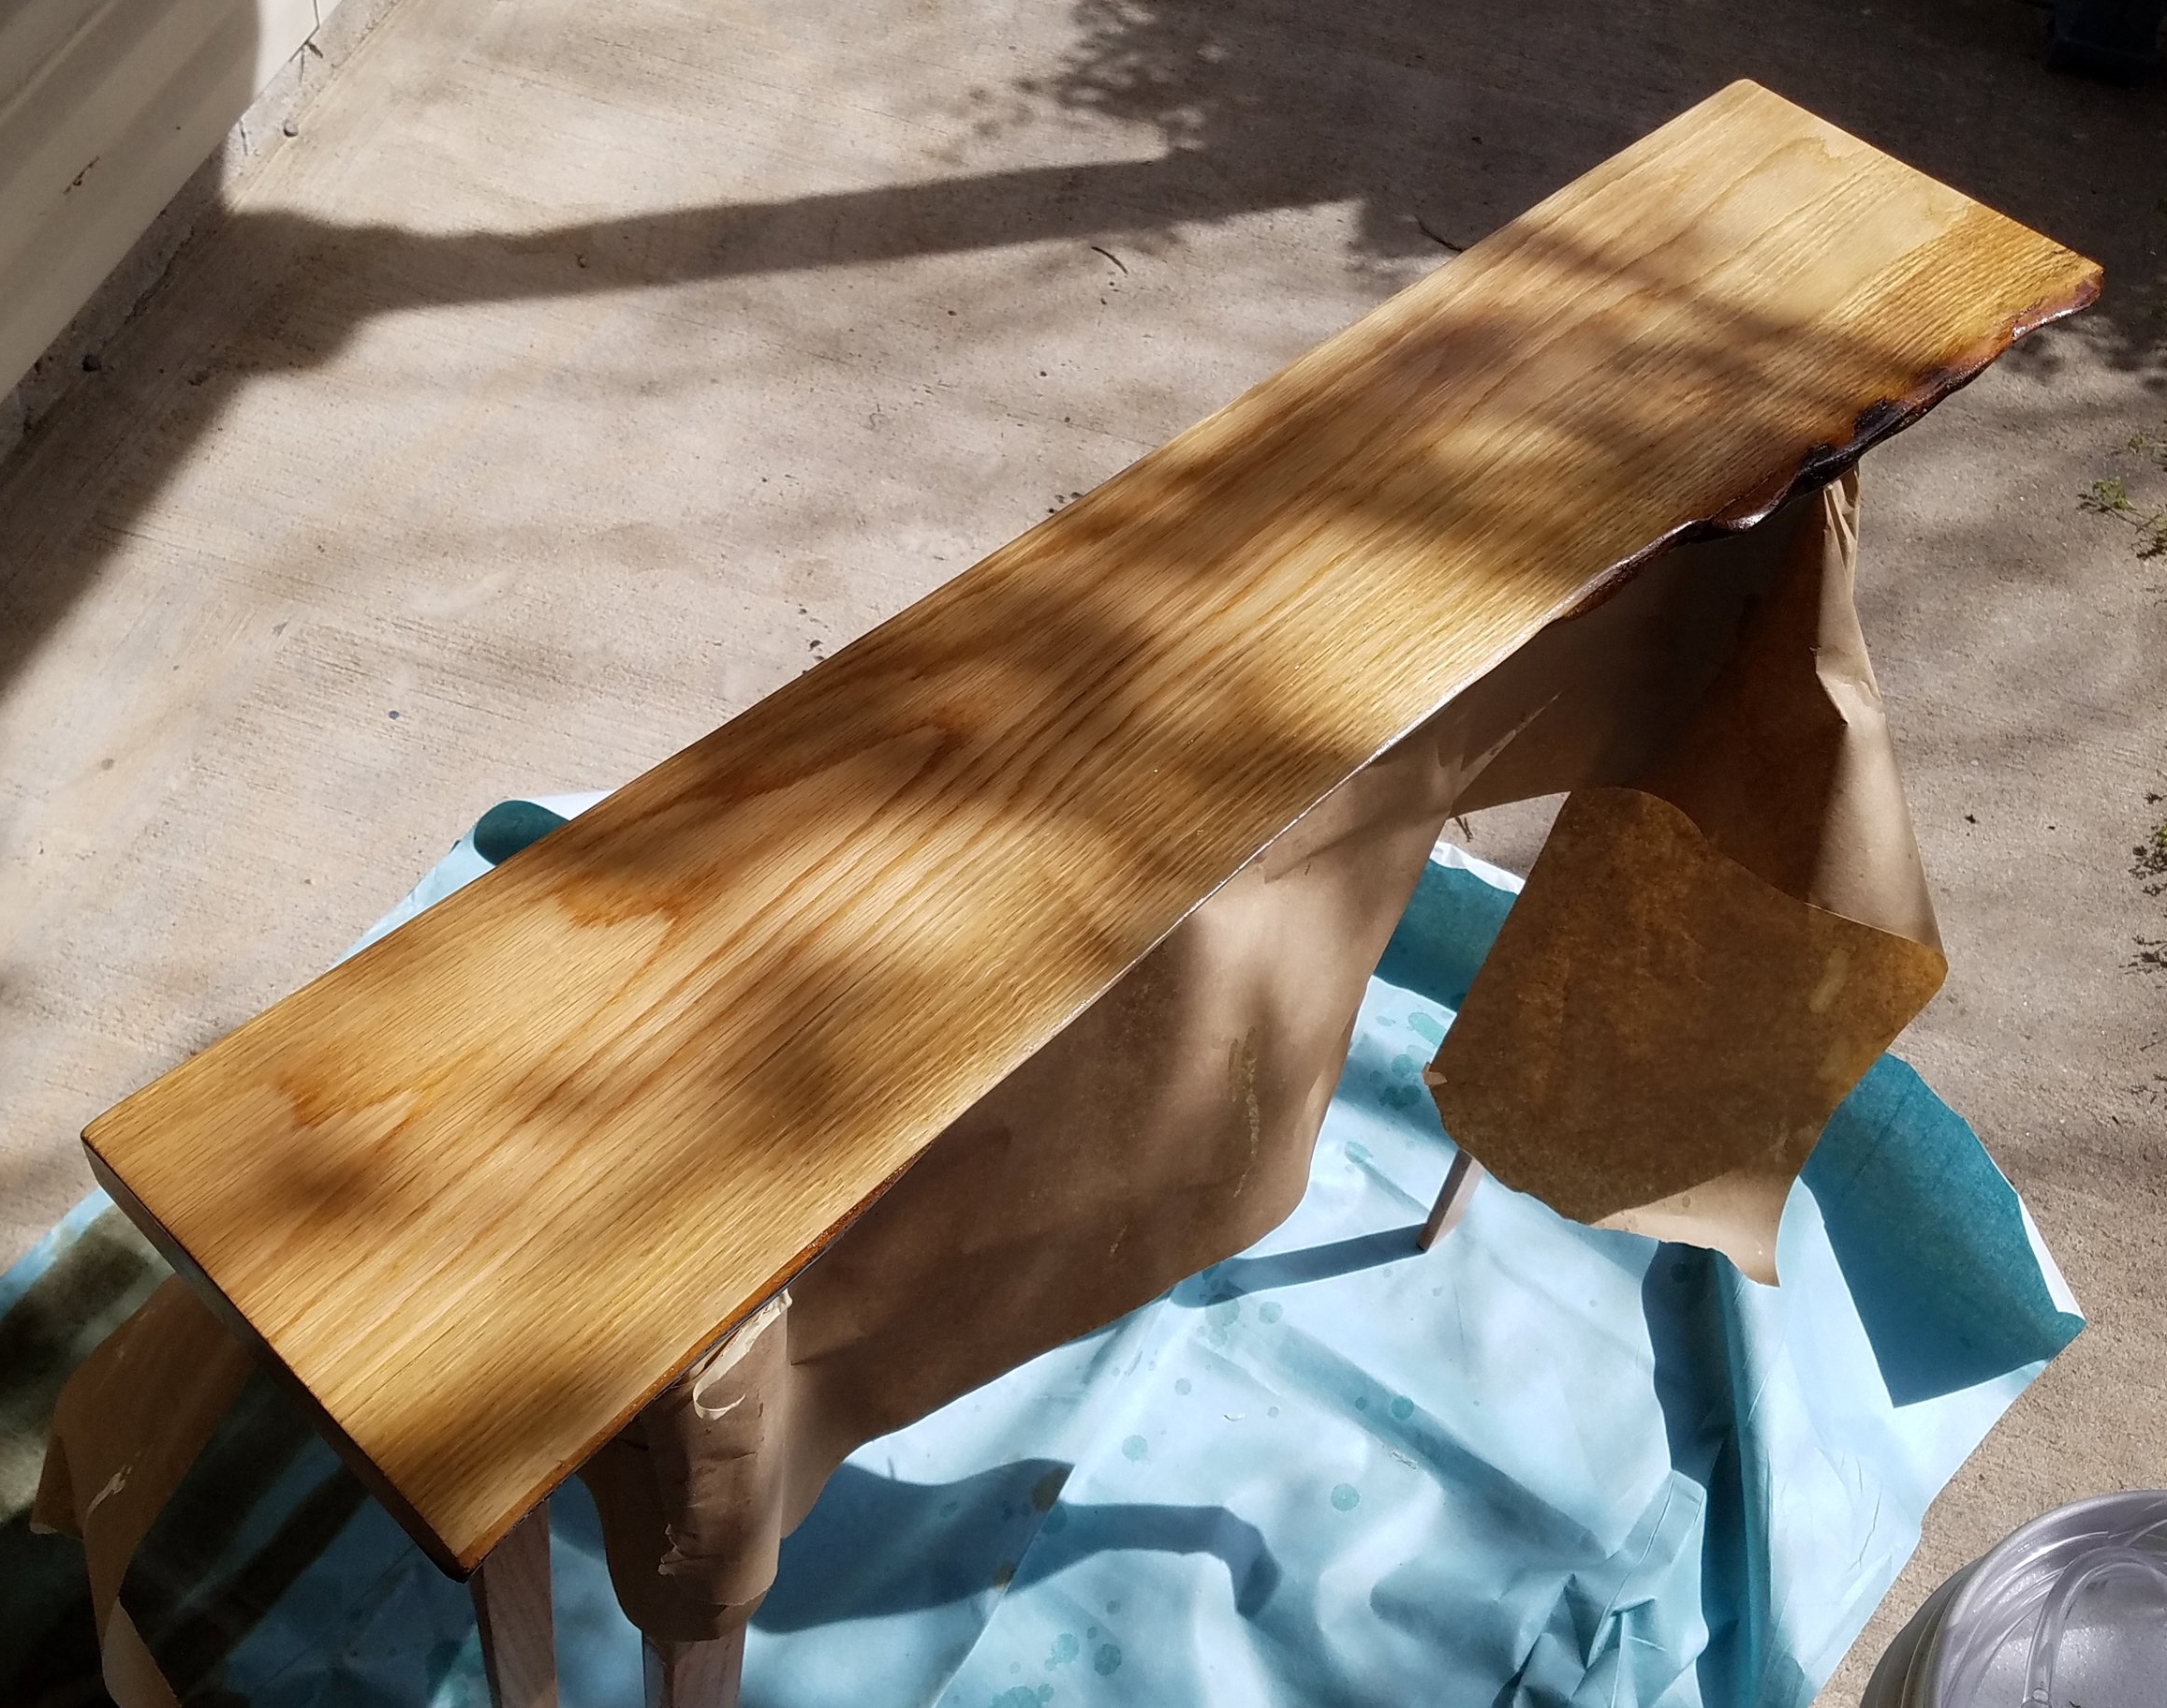
French Polished Slab Finishing
The technique of the "French Polish" dates back to the 18th century. It is a process using a resin secreted by the Lac bug, mixed with alcohol, to create a waxy high gloss substance called shellac. A technique known as a french polish, involves rubbing a shellac soaked pad of cloth onto the workpiece. Hundreds of thin, fast drying, layers of shellac are built up to create a smooth, hard, glossy finish. Shellac really adds depth as a finish, often creating a 3-d effect within the woodgrain. The use of shellac flakes made from an insect, is a natural and classic way of applying a quality finish to any table top.
Mixing Shellac
Usually shellac is mixed to create different thicknesses of shellac. The common terms for mixing are a one pound cut, two pound cut, or three pound cut. This refers to the amount of shellac flakes mixed in an amount of alcohol. So for example. 1 pound of flakes, per 1 gallon of alcohol would make a one pound cut. Two pounds of flakes mixed with 1 gallon of alcohol would yield a two pound cut of shellac.
All I had to start with was 100 mL of alcohol. I needed to figure out how much flakes to use for this amount of alcohol. After some time and googling, I figured out an easy way to measure small amounts of each type of shellac mixture.
It seems that mathematics is kind to us, and guides us to a new way to state an old rule of thumb. The trick I found is to think in terms of grams instead of pounds.
- A 12 gram cut = 12 grams of flakes per 100 mL of alcohol = one pound cut
- A 24 gram cut = 24 grams of flakes per 100 mL of alcohol = two pound cut
- A 36 gram cut = 36 grams of flakes per 100 mL of alcohol = three pound cut
Remember this the next time you mix up shellac. It is beneficial to mix small batches, rather then large batches. Shellac takes about 4 - 5 hours to fully dissovle. It helps to lightly swirl the mixture every so often to speed up the dissolving time. Shellac has a shelf life of about 6 months. After that time, shellac never really dries and remains sticky.
Applying The French Polish
At this point you should have a quantity of mixed shellac. Now you need a way to apply it. A "pad" can be created that is cotton soaked in shellac, wrapped in a cloth. These are tightened up to create a small flat pillow, soaked with shellac. It also is helpful to have a small quantity of pure oil. This will be later used as a lubricant to assist the pad in sliding across the sticky shellac.
Take your shellac soaked pad and hold it in your hand so that you can squeeze the back of it replacing used shellac. The method of applying the finish is simple. Thin layers of shellac are applied creating a smooth finish. The beauty of shellac is it dries almost instantly. Repeat the application of sliding the pad across the work piece until the entire piece is coated. Repeat until the work piece is coated with 30 layers of the shellac. After 30 layers are applied, let the piece dry for about 30-45 minutes. Then repeat another set of 30 layers and let the piece dry for an additional 30-45 minutes. This process of adding layers and drying is repeated until a satisfactory amount of shellac is applied. I like to apply it until the shine of a bright light reflects uniformly off of the workpiece. You will know when you're finished. There will be a layer of shine on it that makes the piece look uniform.
There will be times when your pad starts to stick creating streaks in the finish. Applying a few drops of oil to your pad will help overcome the stickiness. If you squeeze the pad, oil and fresh shellac will create a smooth layer of the sticky shellac. After the shellac dries, the oil will rise to the top and can be wiped off.
When you finally reach that point, where the shellac is dry and looks gorgeous, it is time to apply a finishing coat. I like to use a highly diluted mixture of shellac and alcohol. I find that a 50/50 mix works well. What you want is the alcohol to melt the bottom layer and also evaporate quickly. This will create a fast drying final layer of shellac. Once dried and cured for a few nights, shellac can be further polished using rottenstone and pumicestone. In the application to the table top, I chose to go over the dried shellac with 80% alcohol mixture of alcohol to shellac to smooth out any imperfections.
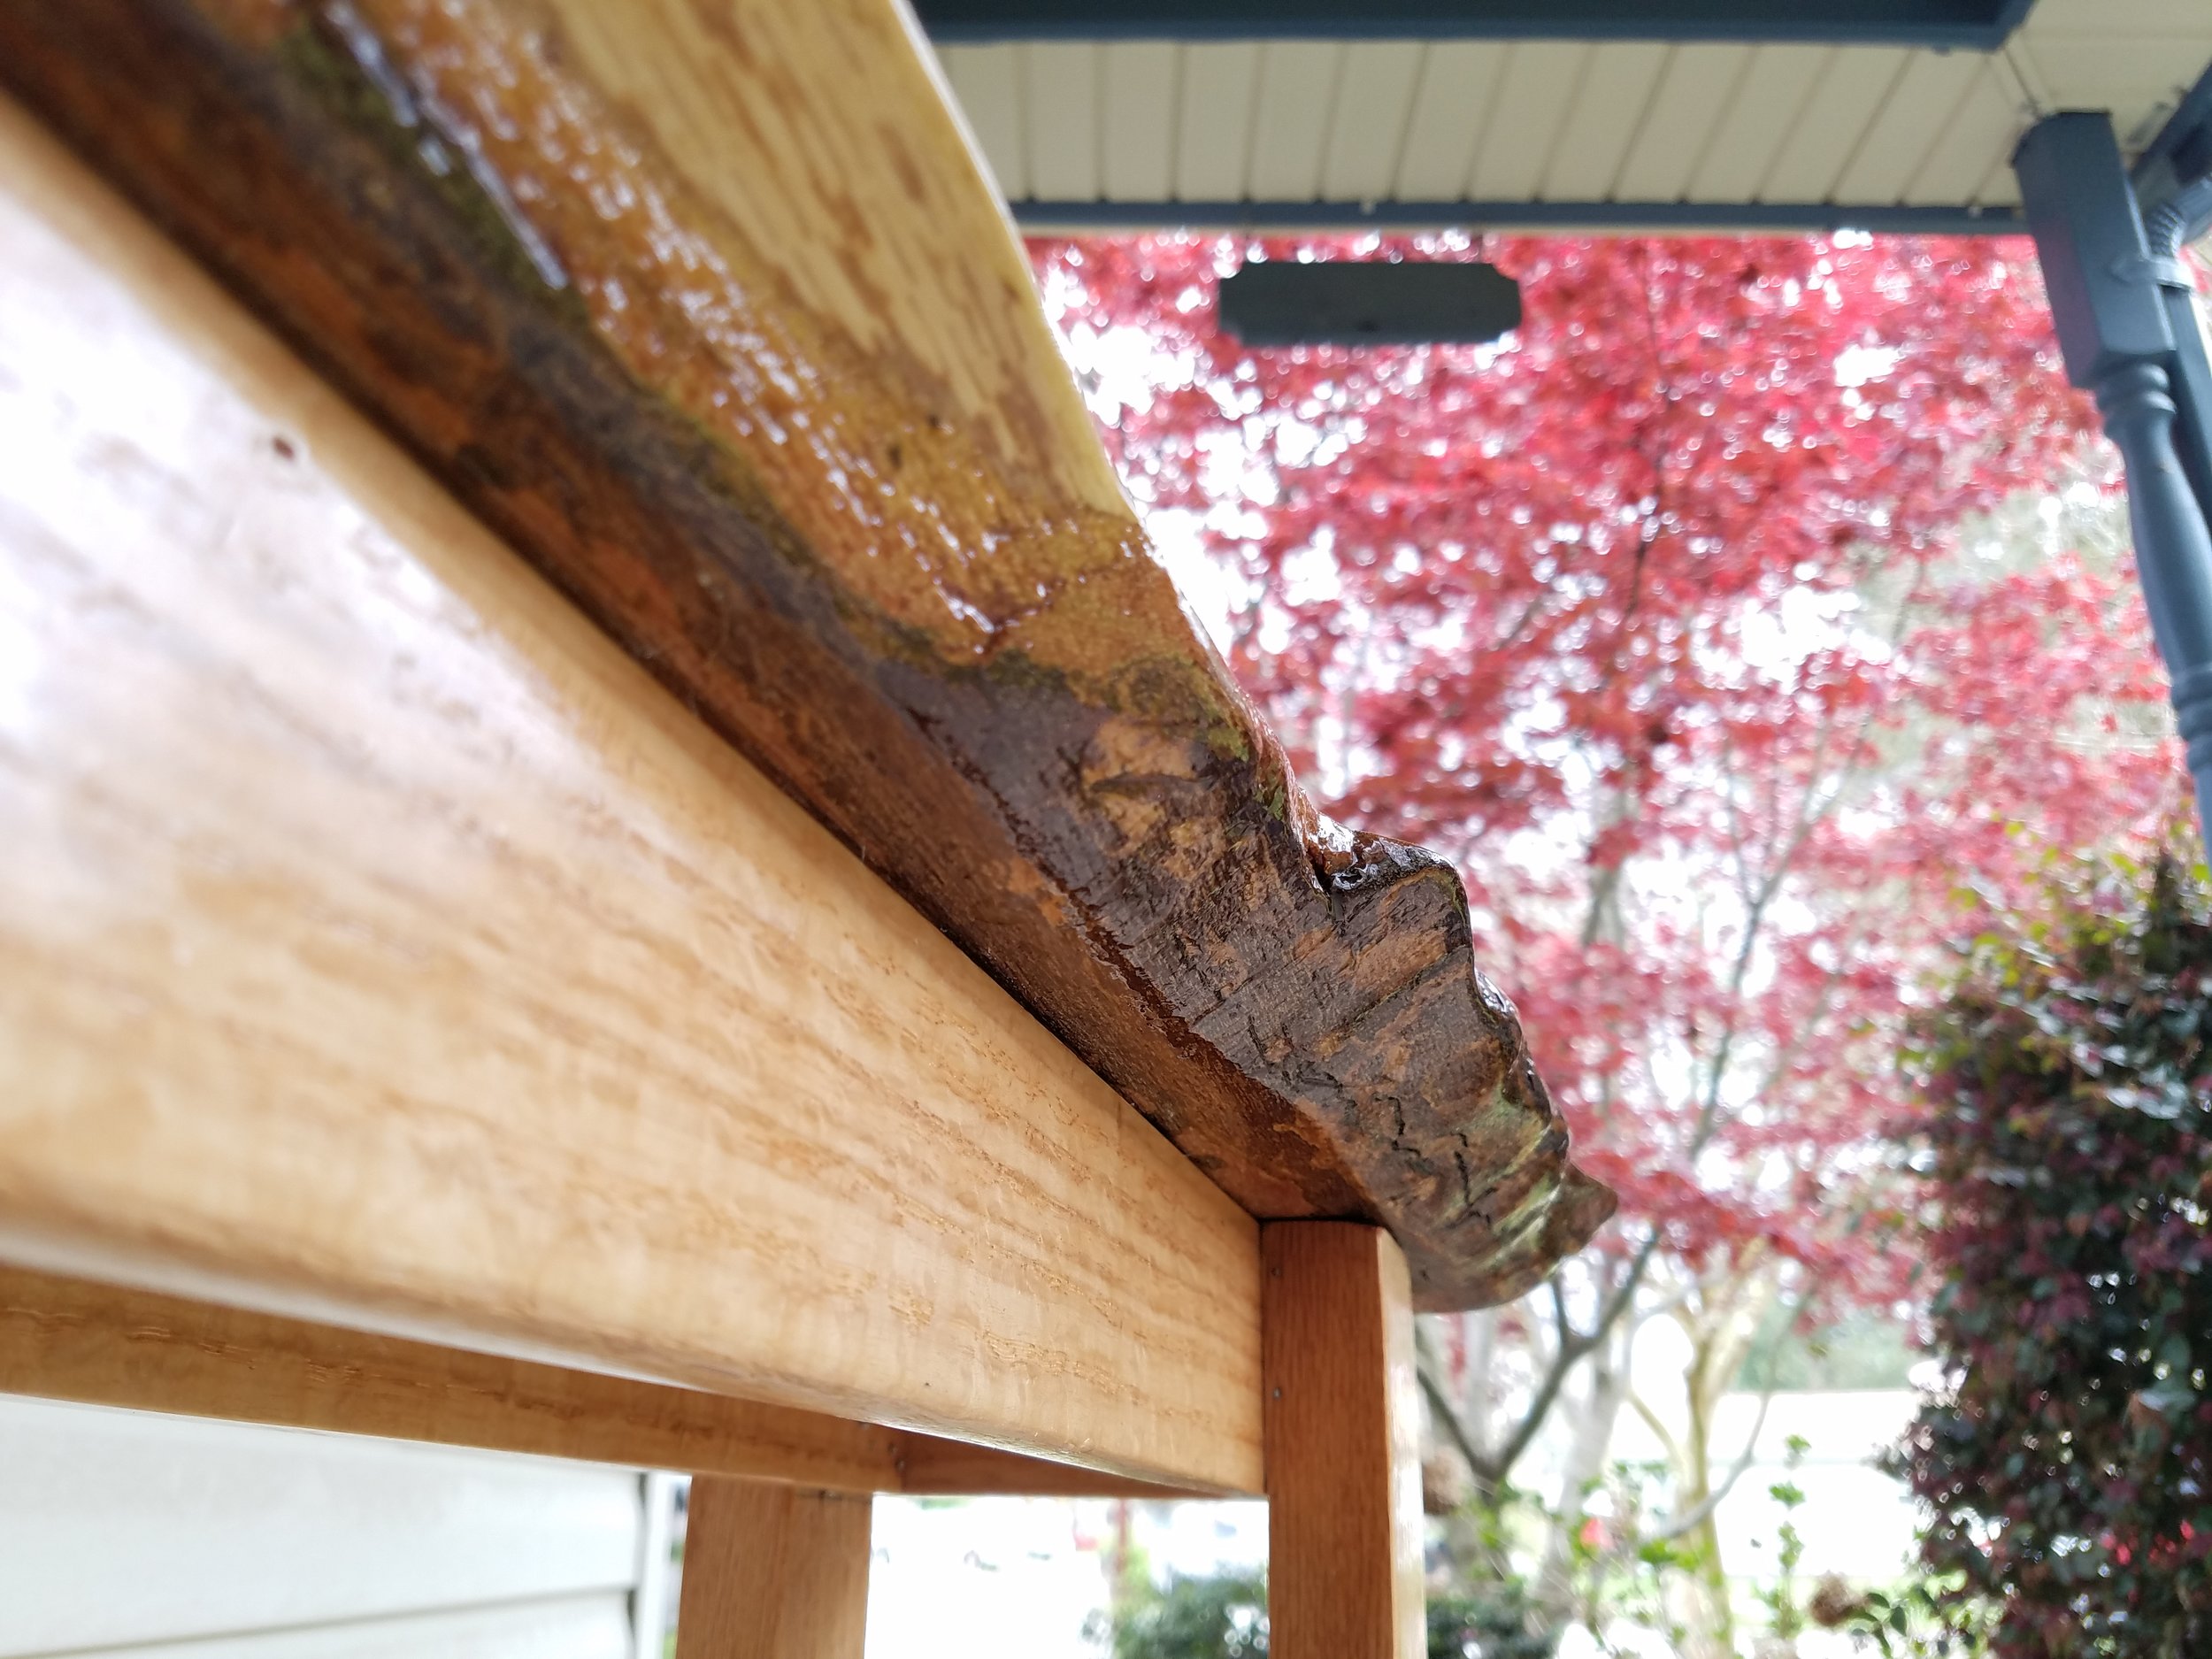
Don't Hide From The Defects, They Tell A Story.
When milling the red oak, I was astonished to find this cross section of what used to be an insects home. After insuring that this home was empty, I thought keeping it and honoring it front and center would make this table unique. Sealed forever in lacquer, this home can be viewed at anytime.
Final Thoughts
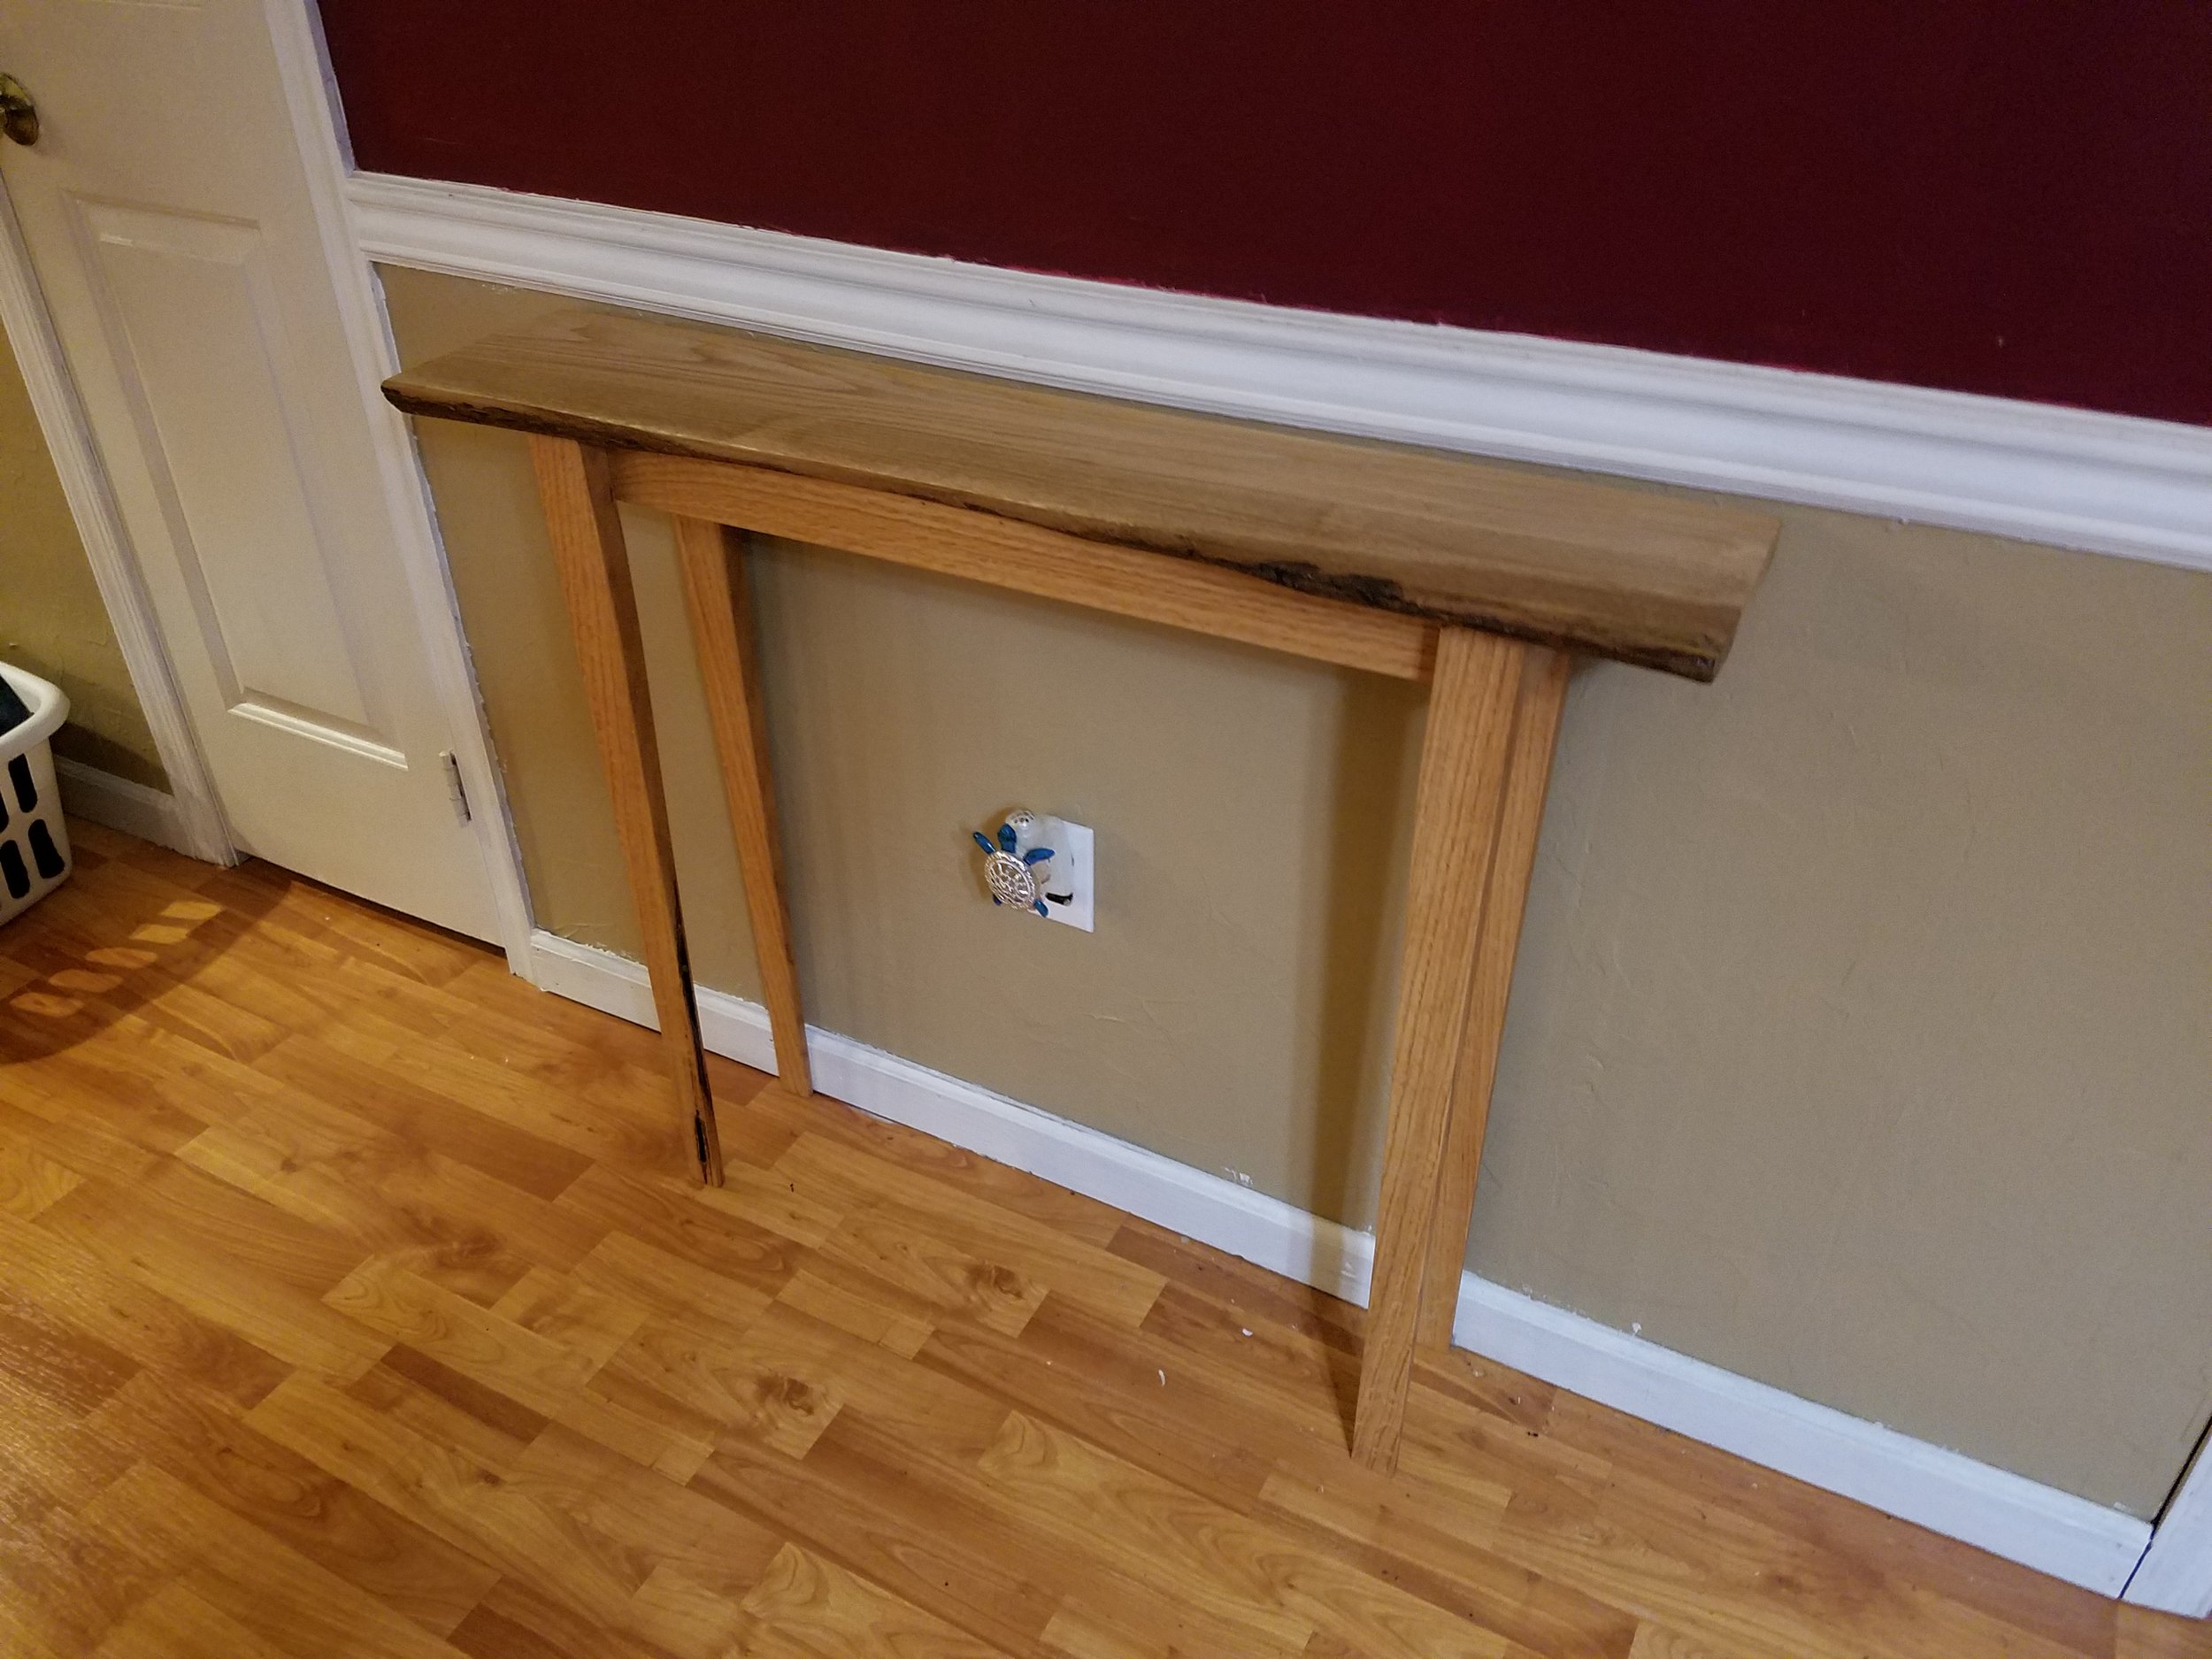
This was my first attempt at creating a hall table. A sort of freestyle if you will. The natural features of the tree was my guide. I am certain there will be many more of these made in the future as this one was pleasure to make. I am currently working on another using the same piece of red oak. I am excited as each one will be an individual, with its own personality and features. I learned a lot from this project, and will certainly be building more of these cool tables. I hope you continue following along, as I work to improve my design and techniques.


